The cat-eye look is one of the sexiest and most elegant makeup styles out there. It’s a simple stroke of eyeliner but requires a high level of skill to apply
What do Brigitte Bardot, Amy Winehouse and Kate Moss have in common with Sophia Loren, Audrey Hepburn and Adele? Each one is iconic for their use of the cat-eye look. Unlike classic red lips or a deep smokey eye, the perfect cat-eye requires a level of skill like no other. It is not easy to master this type of makeup, and even expert make-up artists have to put in some extra effort.

Achieving the perfect cat-eye requires a lot of patience. While it can be a difficult task, it’s also not impossible. The most important thing is to practice and remember that you can learn as much from a mistake as you can from being successful. If you don’t succeed the first time, stay calm and start over. Don’t let the clock get to you. Take deep breath and take as much time as you need to do your makeup.
Step 1 – Choose the Perfect Tool
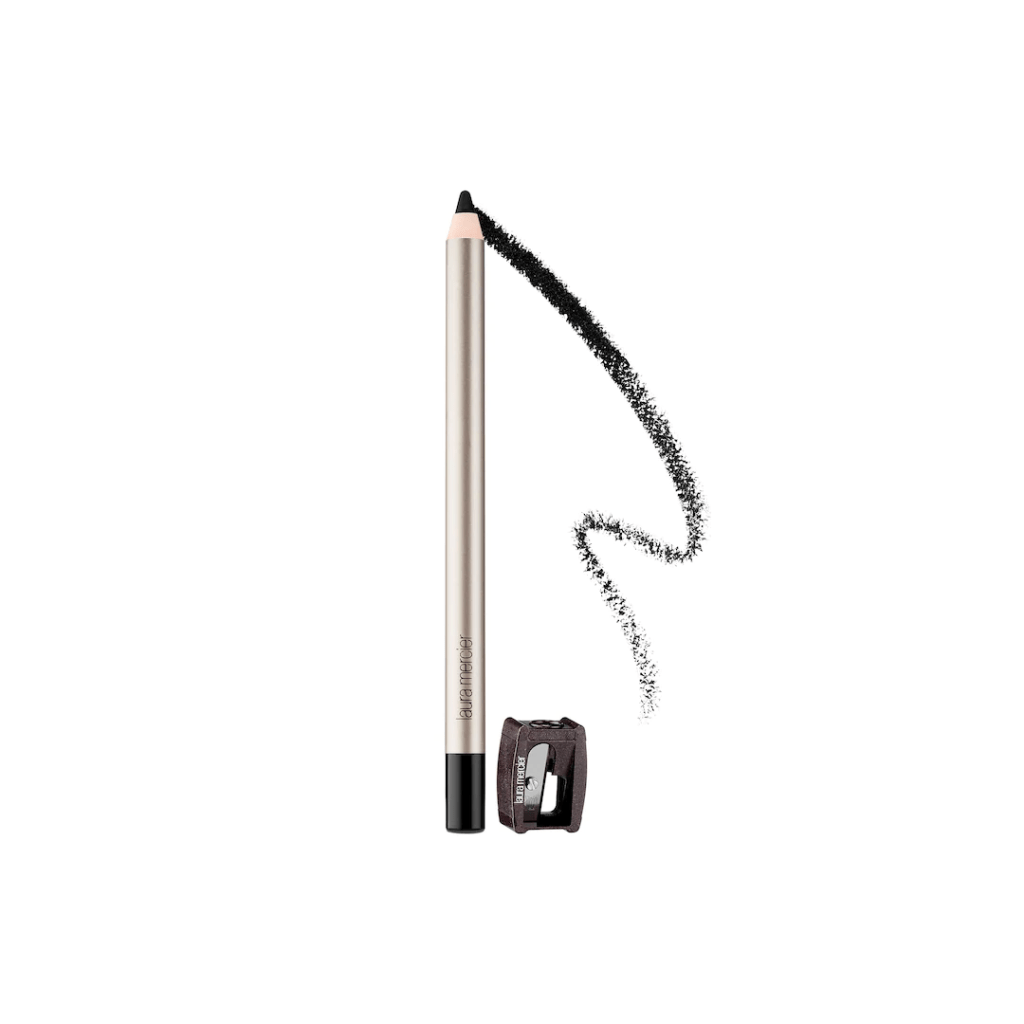
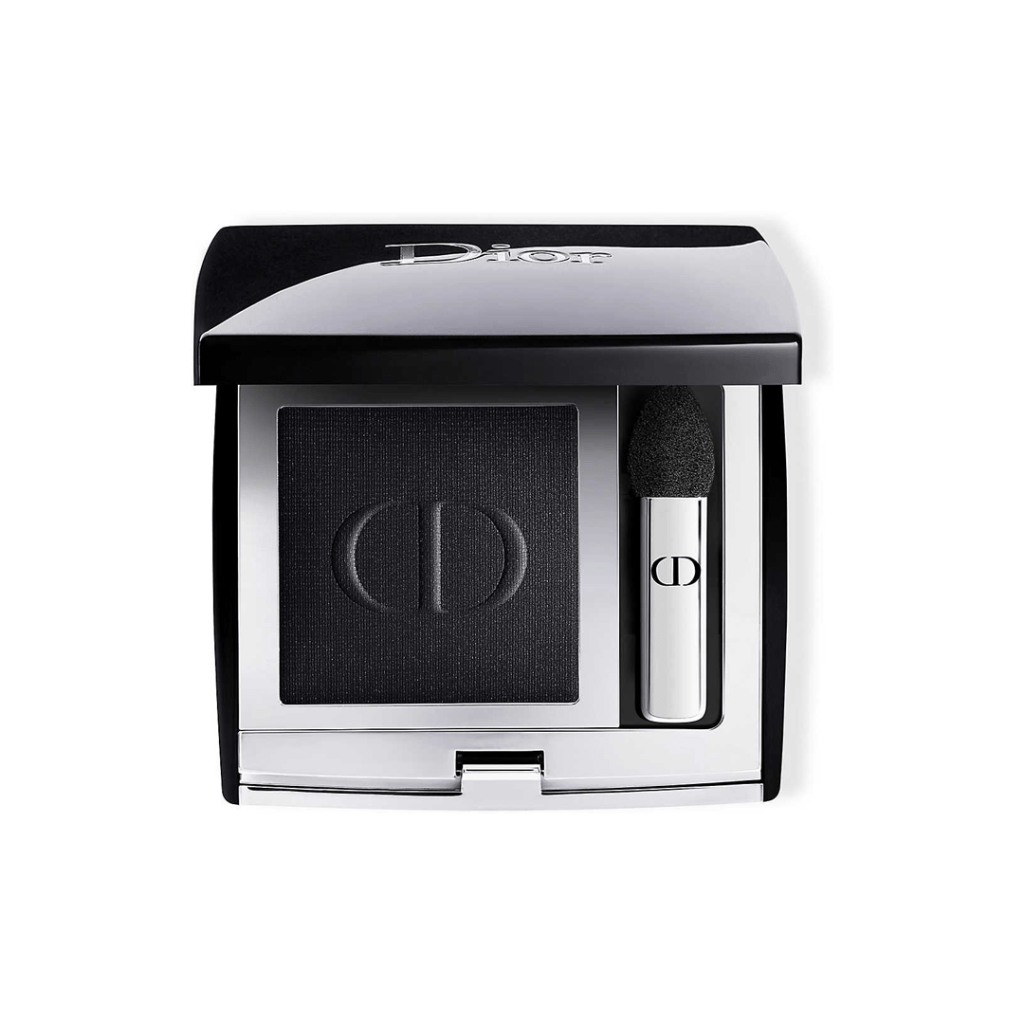
The correct eyeliner makes all the difference. You should use one that you are comfortable with. Even though liquid eyeliners are easier to handle and allow you to draw more comfortably, they are not the only tool in the game. You can opt for a soft-tipped pencil or even use a damp brush with a little eye shadow.
Products:

Step 2 – Prime
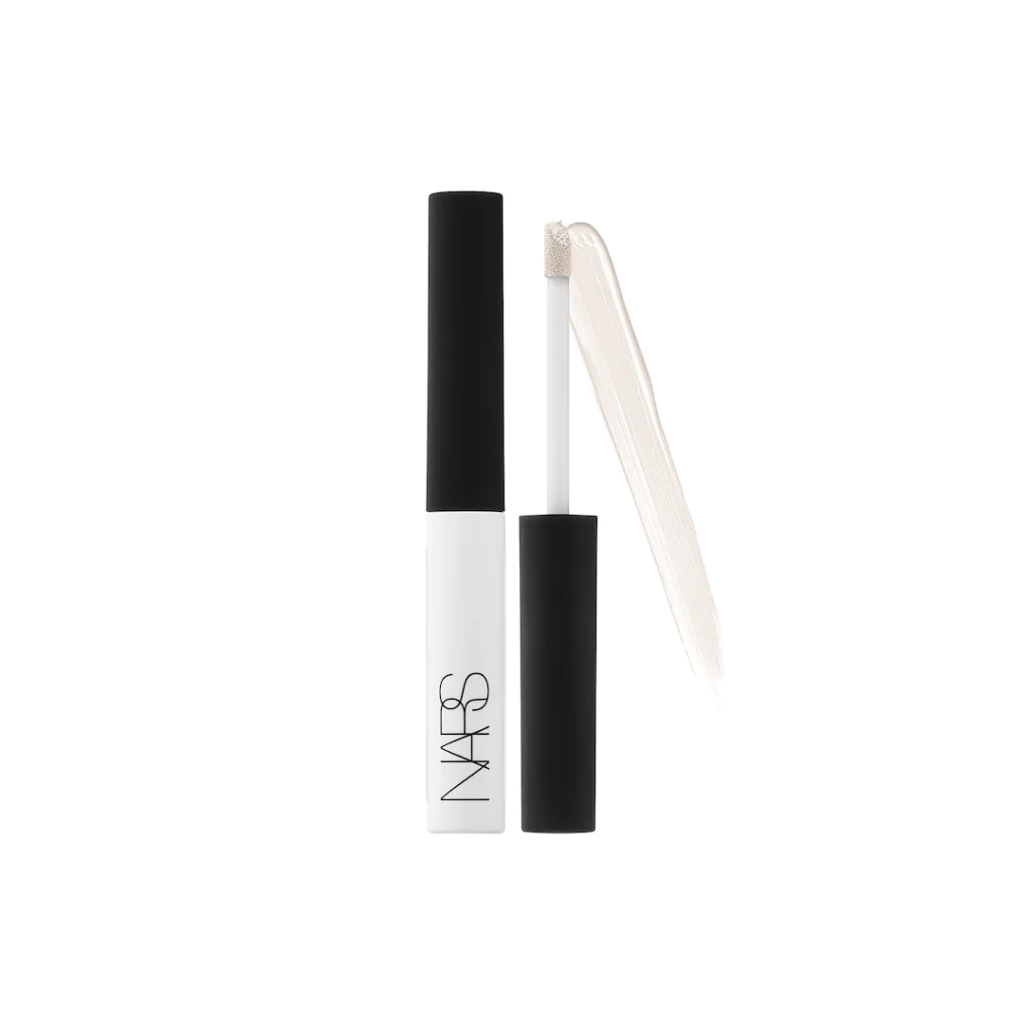
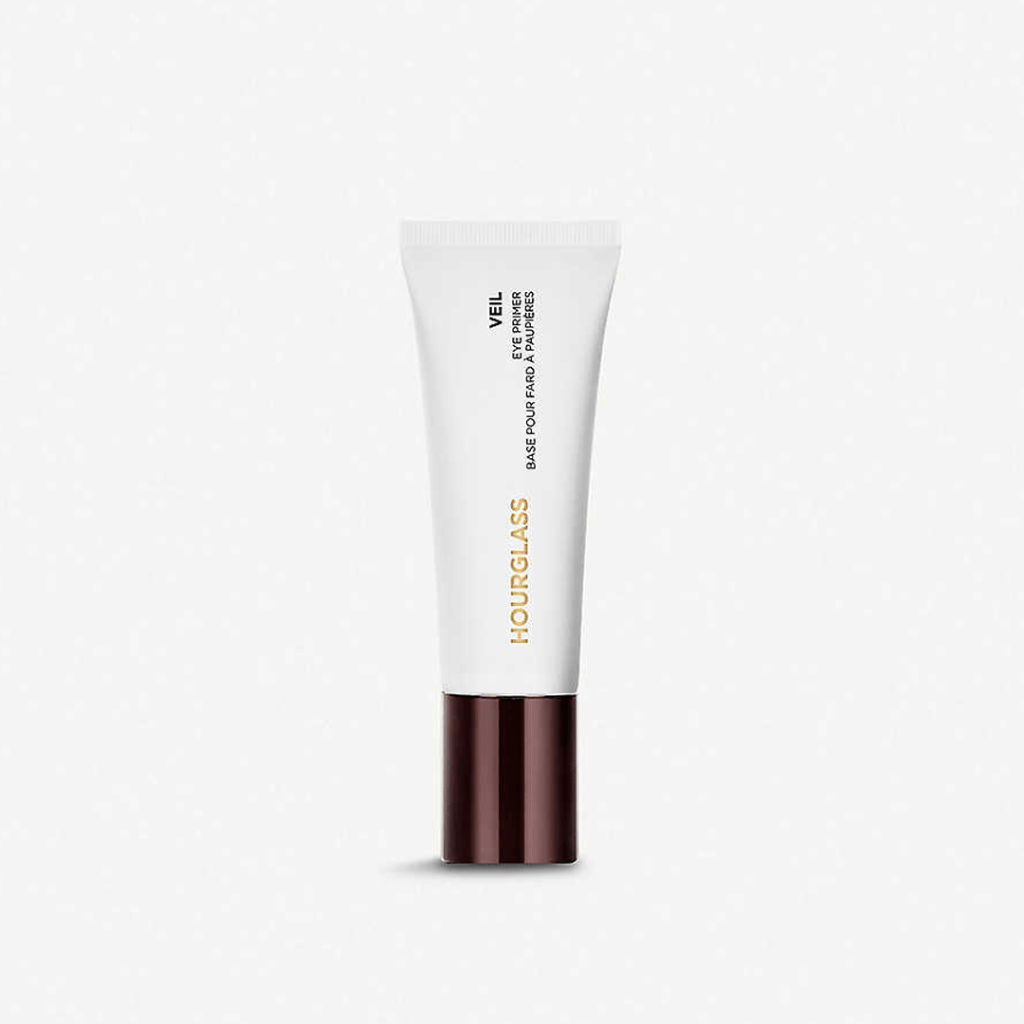
Before applying any makeup, apply a coat of primer to your eyelids. Blend it into the skin with a brush or your fingers. This will prevent the eyeliner from smudging and allow it to last longer.
Products:
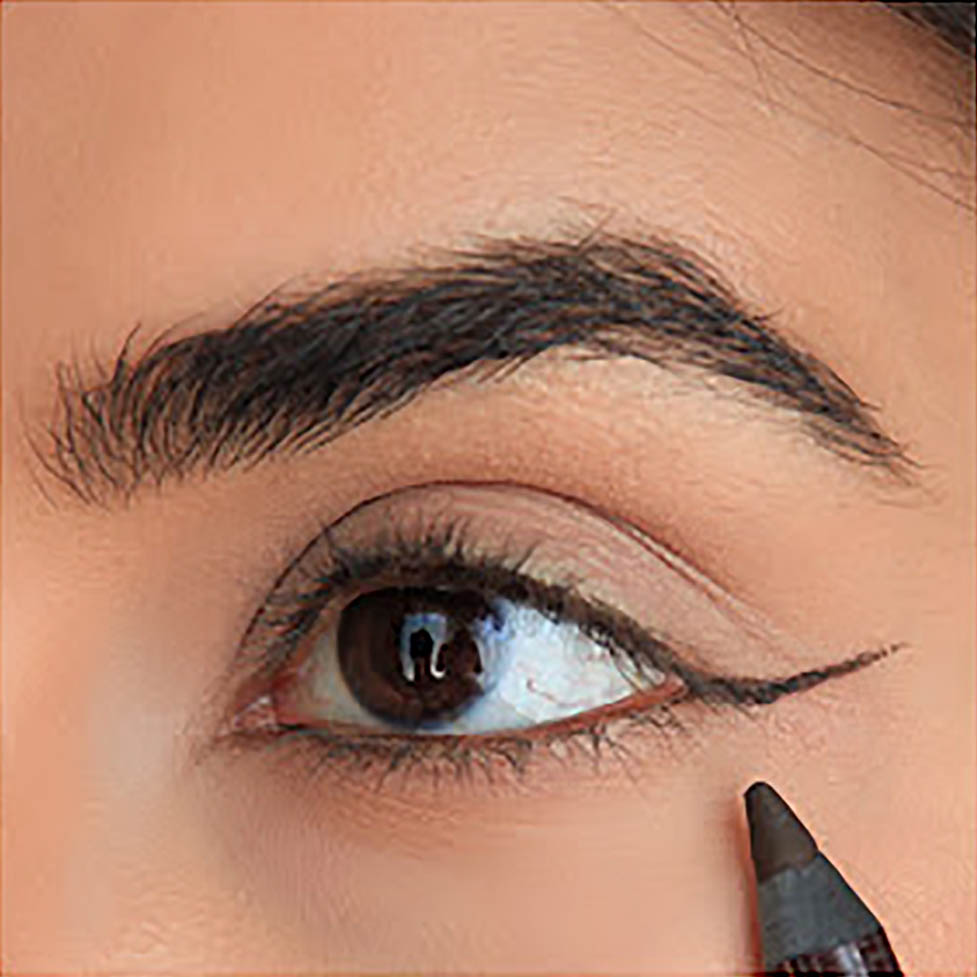
Step 3 – Draw the Wing
Although many tutorials will show you how to end on the “wing,” I actually think it works better to draw this part first. This trick will help you achieve the desired angle, which, in my opinion, is 120 degrees. You can also define the length of the line. Draw a straight line outwards from the point where your lashes end. Make sure to watch what you are doing for best results. That is, keep your eyes open!
Step 4 – Fill it In
Finish the liner by drawing a reverse “V” that reaches the upper eyelid. This is where you will define the thickness of the outline. Once the “V” is formed, you can fill it in, finishing off the “wing” of the cat-eye look.
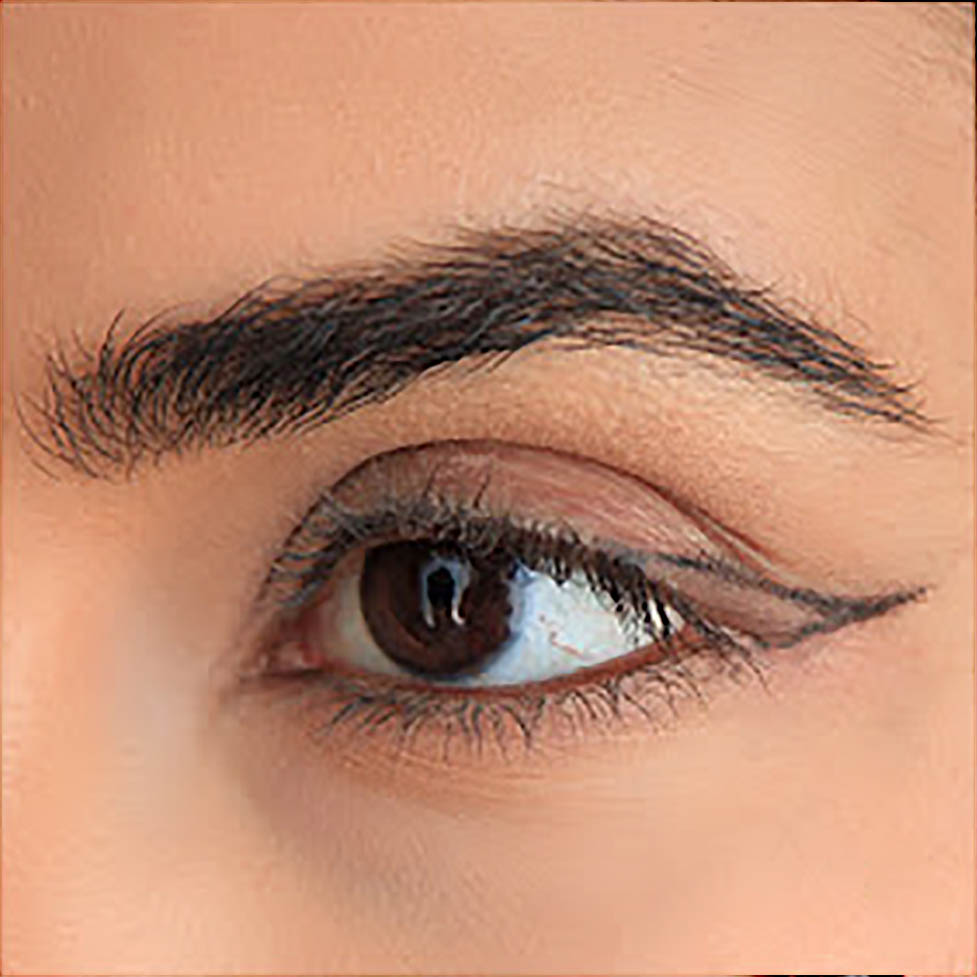
Step 5 – Define the Upper Contour
Proceed to delineate the upper eyelid of the eyes and the lash line, from the “V” that you drew on the outer side of the eye to the tear duct.
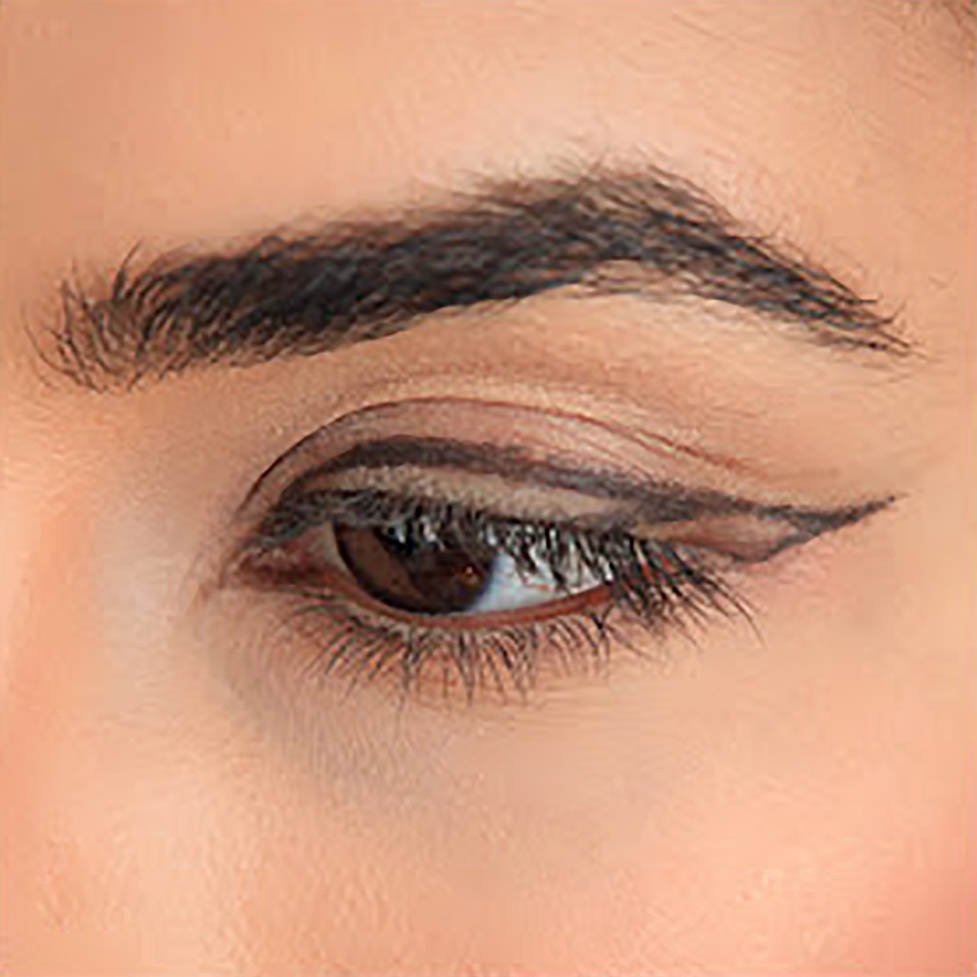
Step 6 – Define the Line
Go over the outline until you achieve the desired definition. Repeat this step as many times as need until you achieve that ideal thickness.

Step 7 – Soften
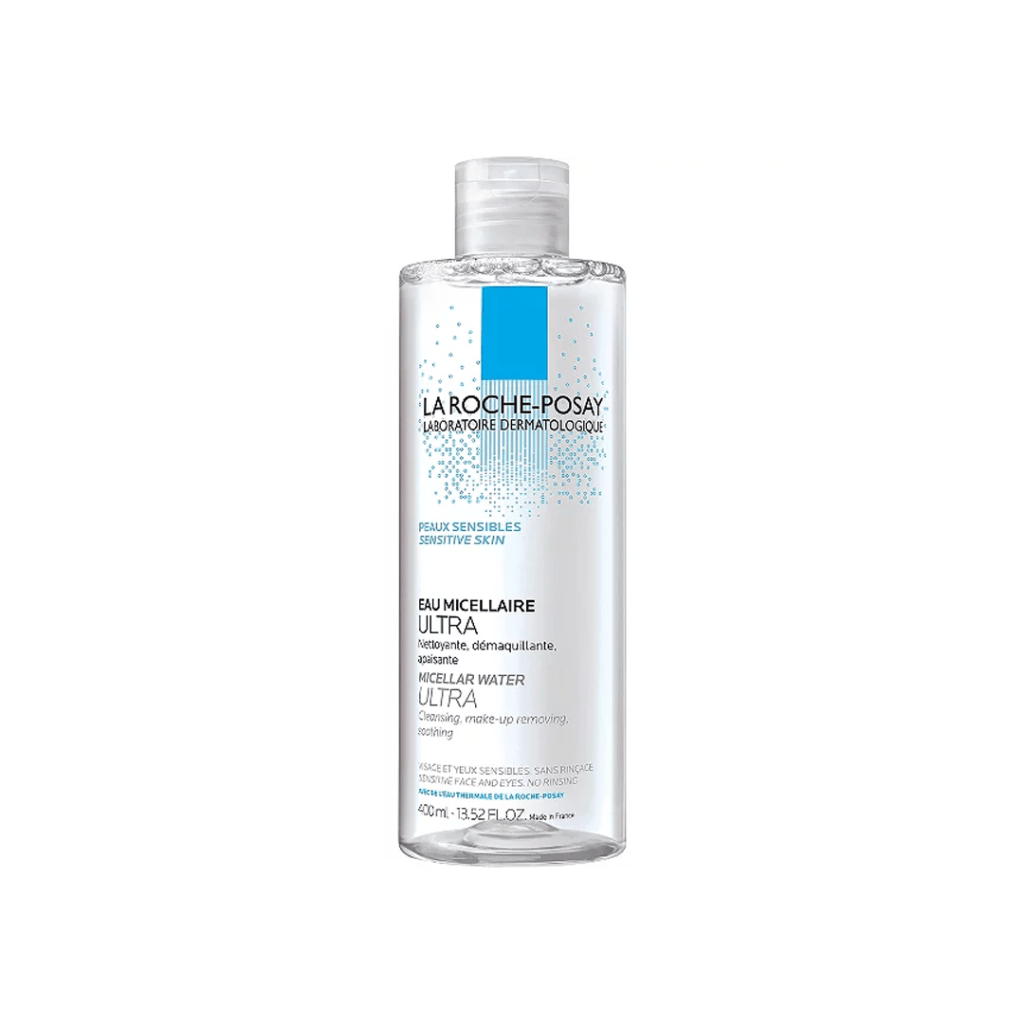
Using a little bit of cotton with micellar water or make-up remover, soften the outline of the eyeliner. This is also a good way to blur the tip of your liner or extend it. You can also use a Q-tip to achieve greater precision. Do this on the upper part of the outline, as well as the “wing”.
Products:


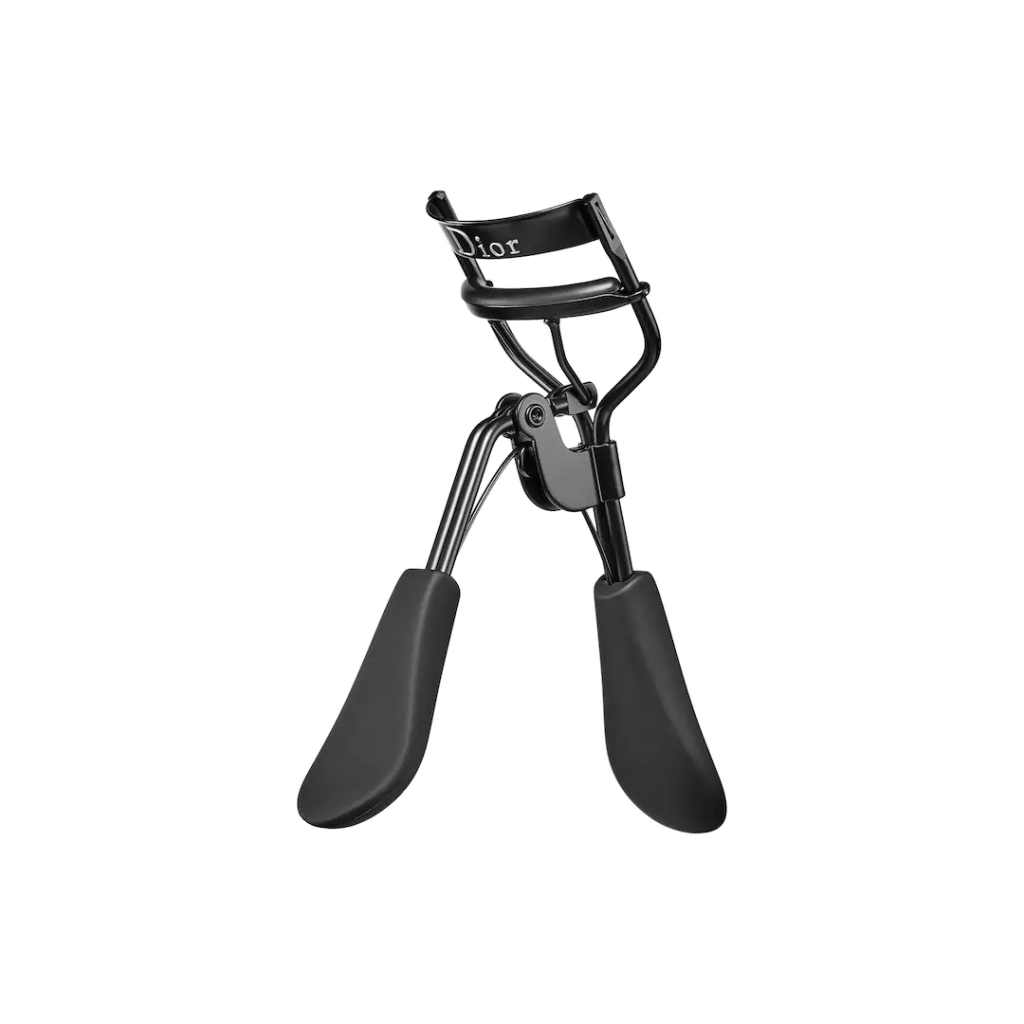
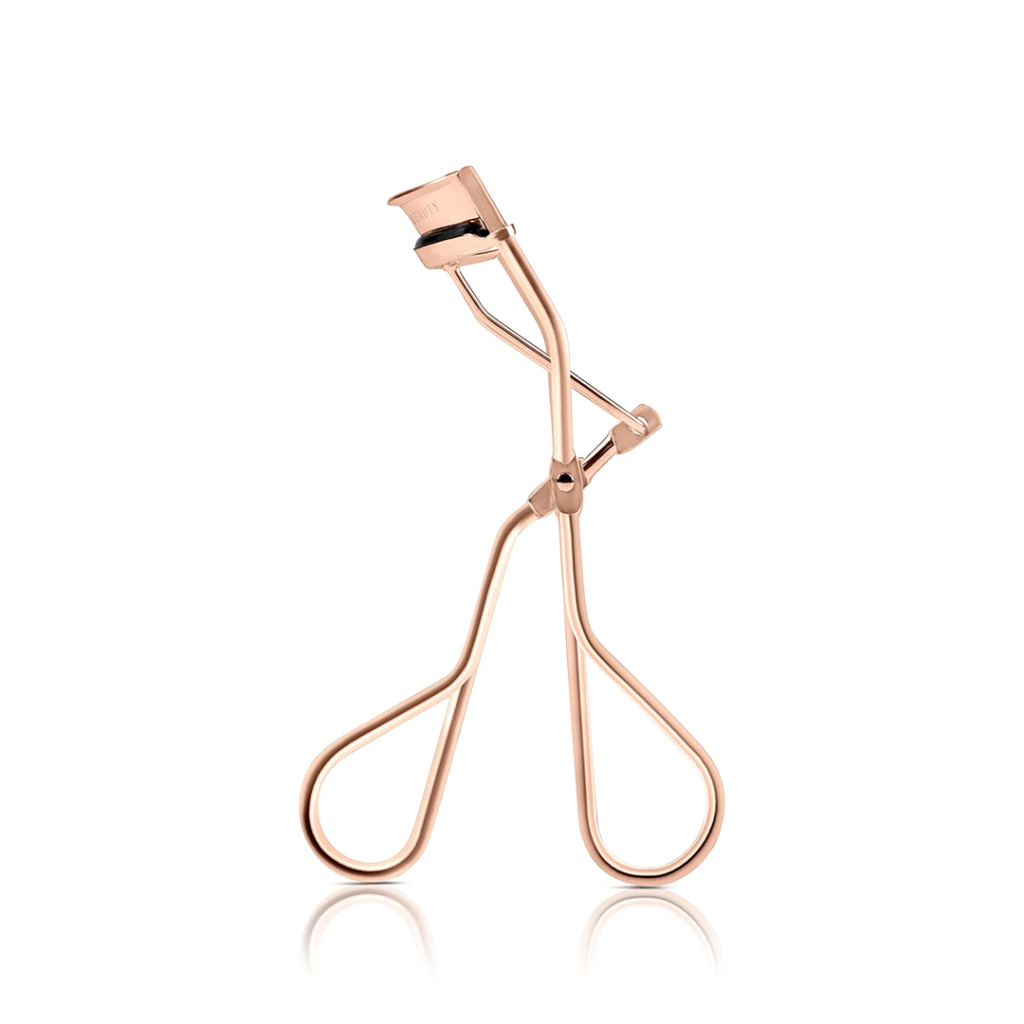
Step 8 – Curl Your Eyelashes
Wait for the eyeliner to dry and proceed to curl your lashes. This will help define the eyeliner and pull focus to your eyes.
Products:

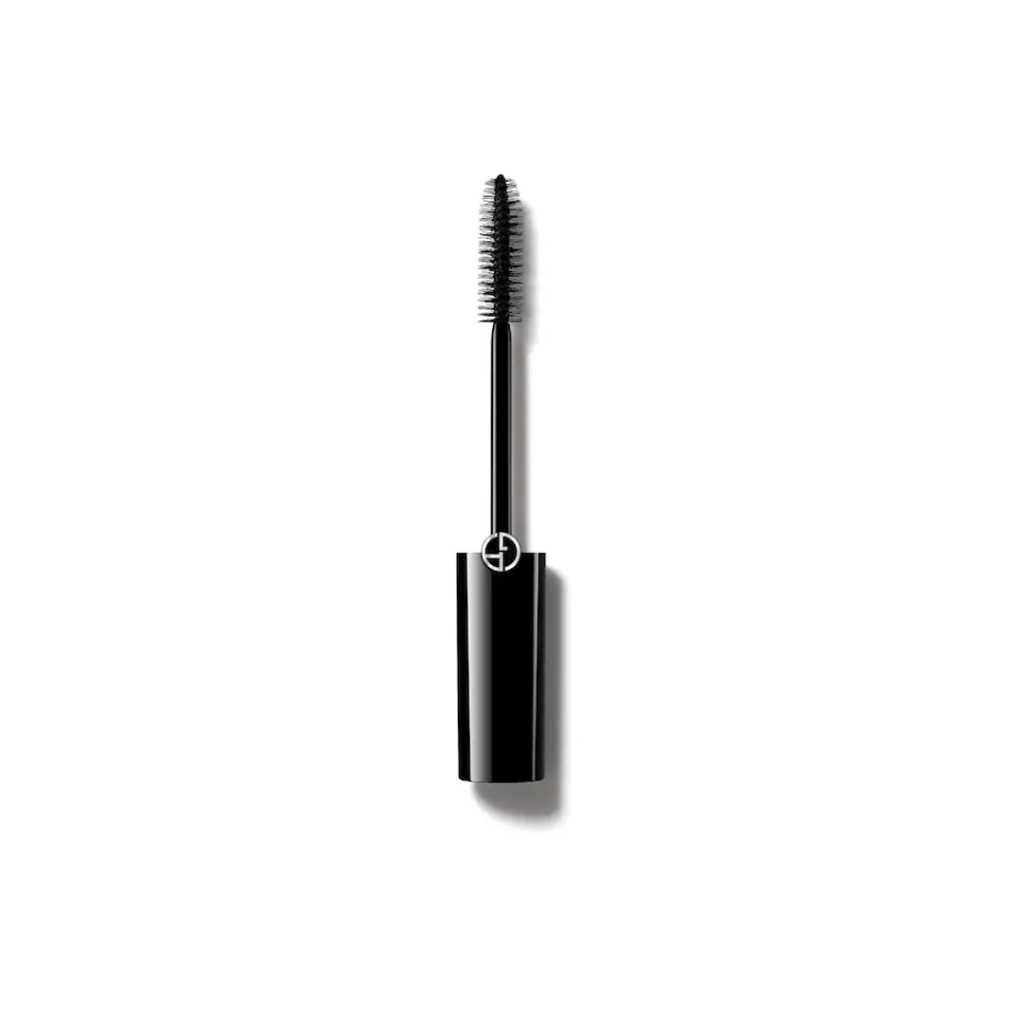
Step 9 – Put on Mascara
Apply a little mascara to your lashes for a more impactful effect.
Products:

This is a simple guide on how to achieve a perfect cat-eye. It might not turn out exactly how you want it to at first, but practice makes perfect. Of course, there are different styles–you can lengthen the tip more and create a more stylized silhouette or change the thickness of the eyeliner to create more volume. It all depends on your unique style.
The cat-eye look is an impactful makeup that can transform your face. It’s sexy and elegant, and you can apply the look in the blink of an eye.
XO
Sira


